Smart Lists allow you to save filtered contact views for quick access later. This guide walks you through creating a Smart List based on contact tags and managing sharing settings.
Click on Contacts in the left sidebar to access your contact database.
Click the Advanced filters button to open the filtering options on the right side of the screen.
In this example we’ll use the tag filter, type "tag" to quickly locate the Tag filter option.
Click on Tag from the search results to add it as a filter criterion.
Choose "6-month-review" or your desired tag value from the dropdown menu.
Click the Apply button to filter your contacts and display only those matching the selected tag.

Click the settings menu and select Save as new smartlist to save your filtered view.

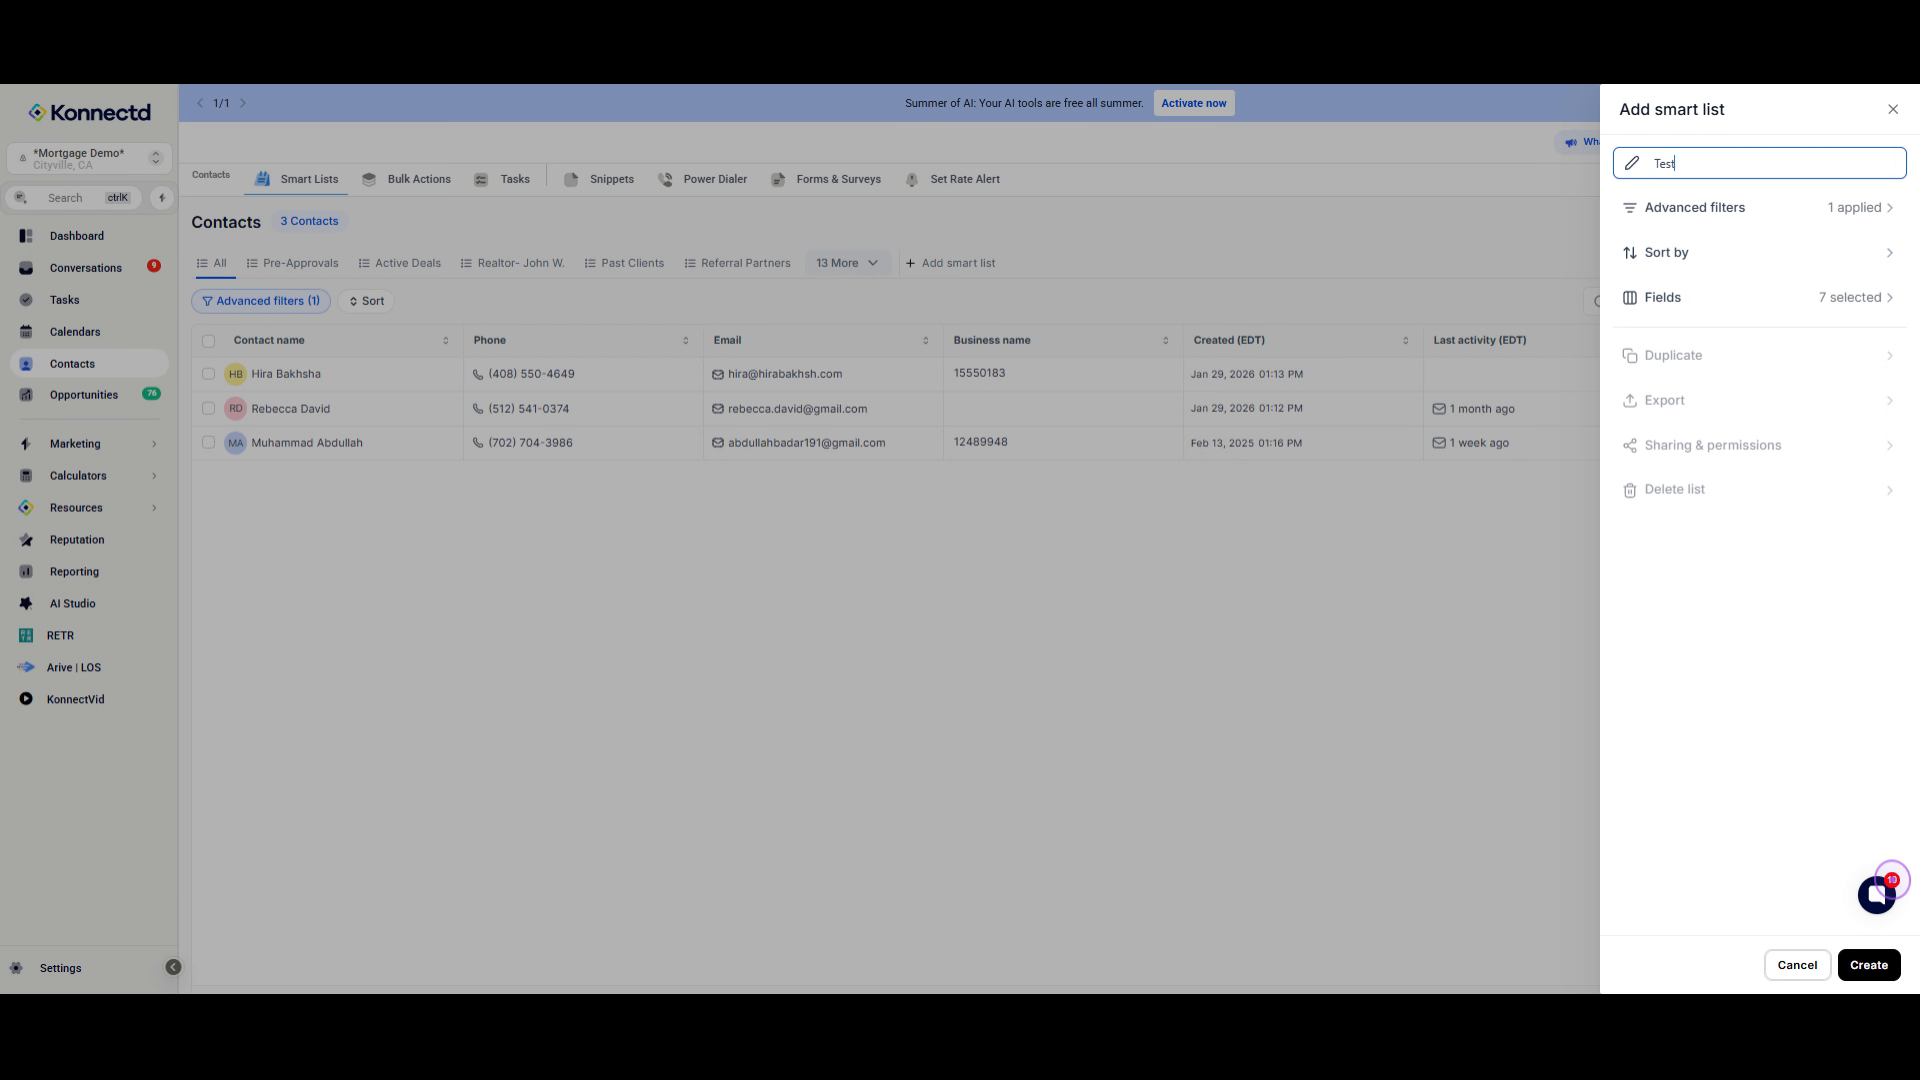
Enter a descriptive name for your Smart List, such as "Test", in the Smart list name field.
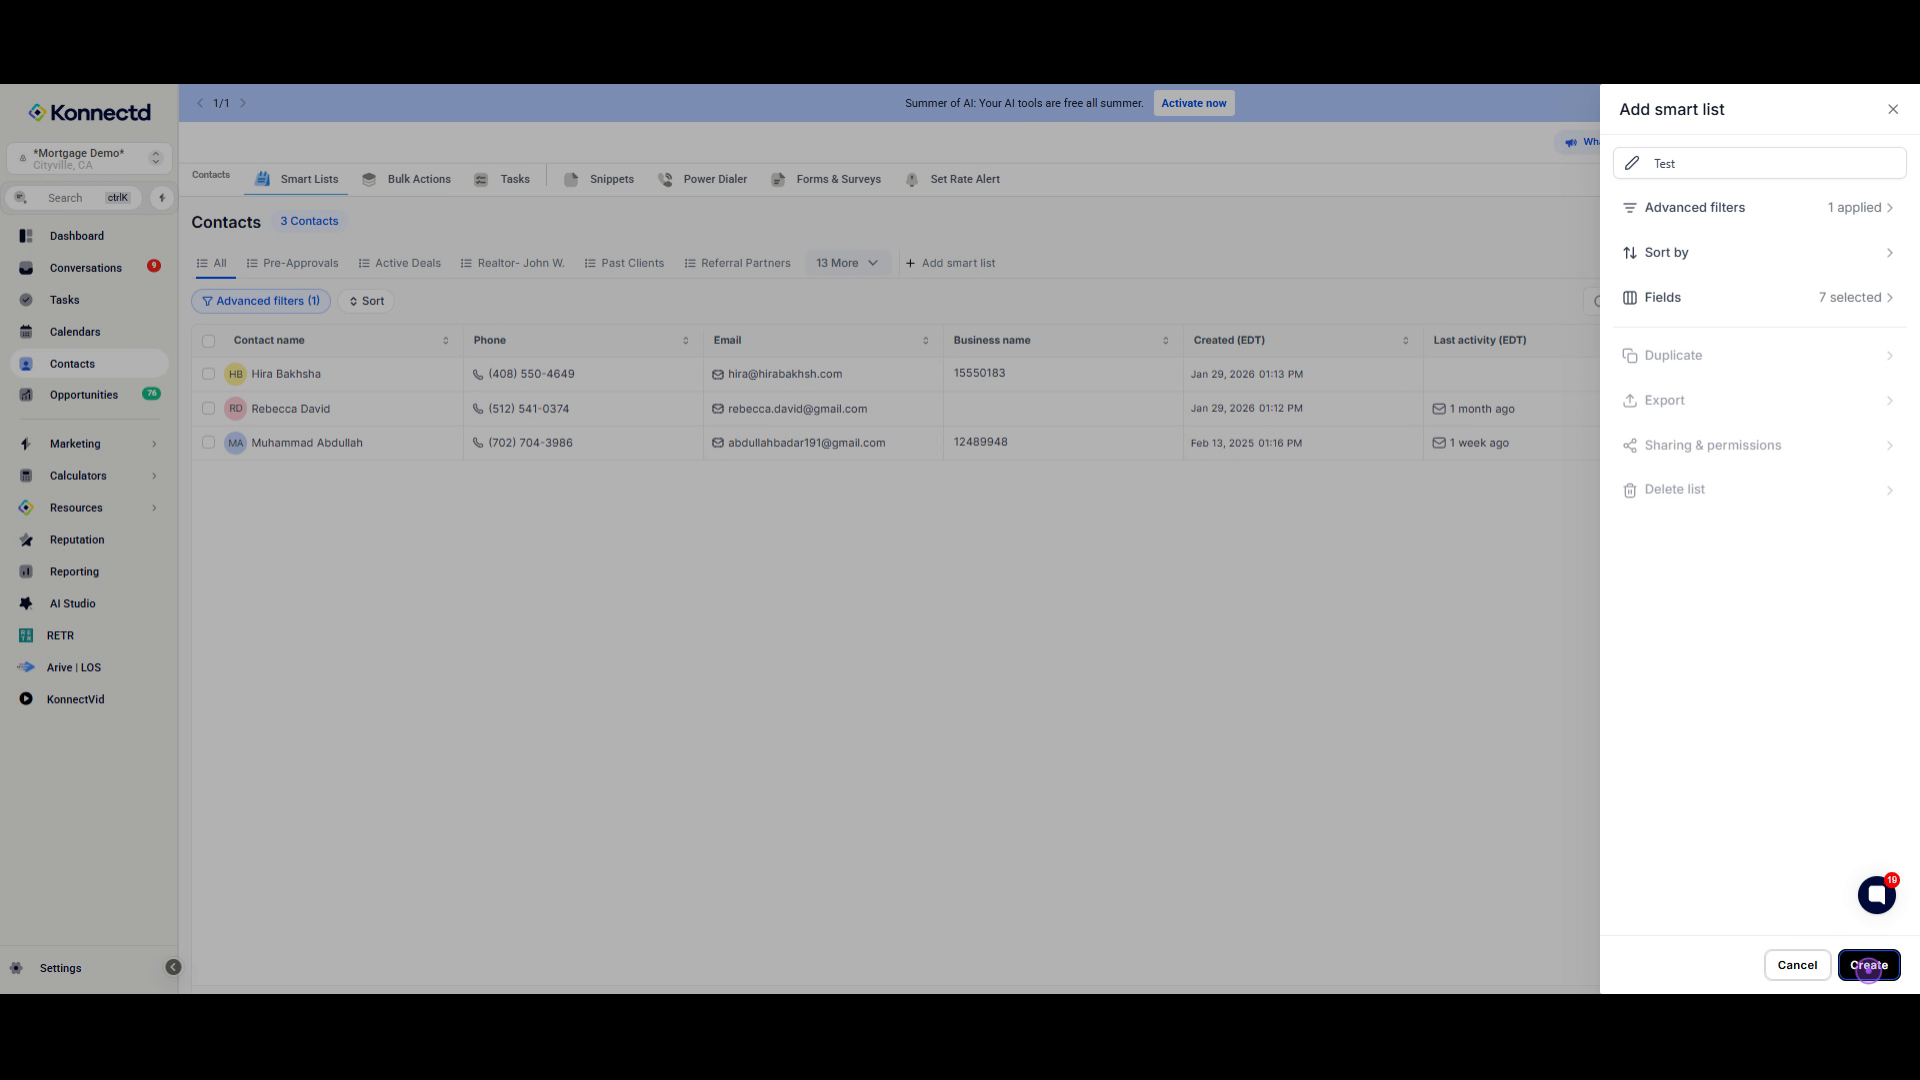
Click the Create button to finalize and create your new Smart List.
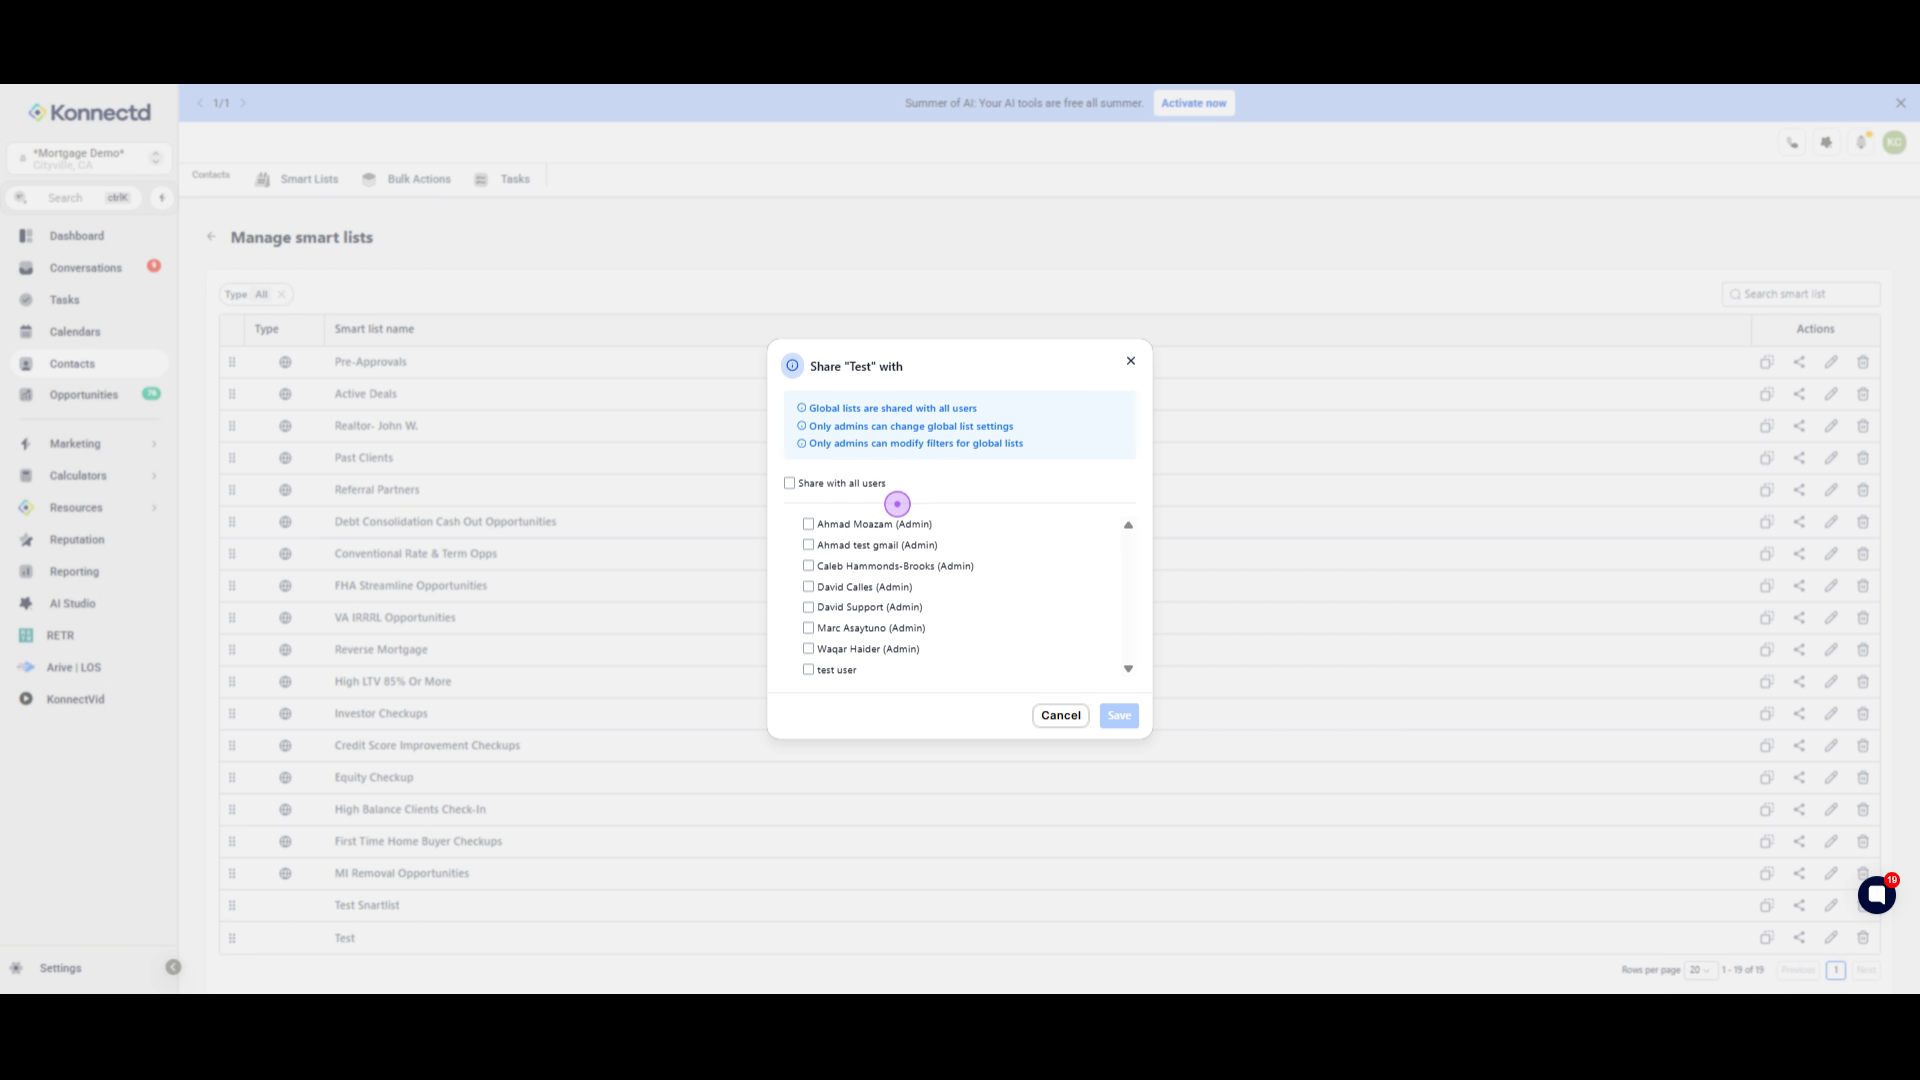
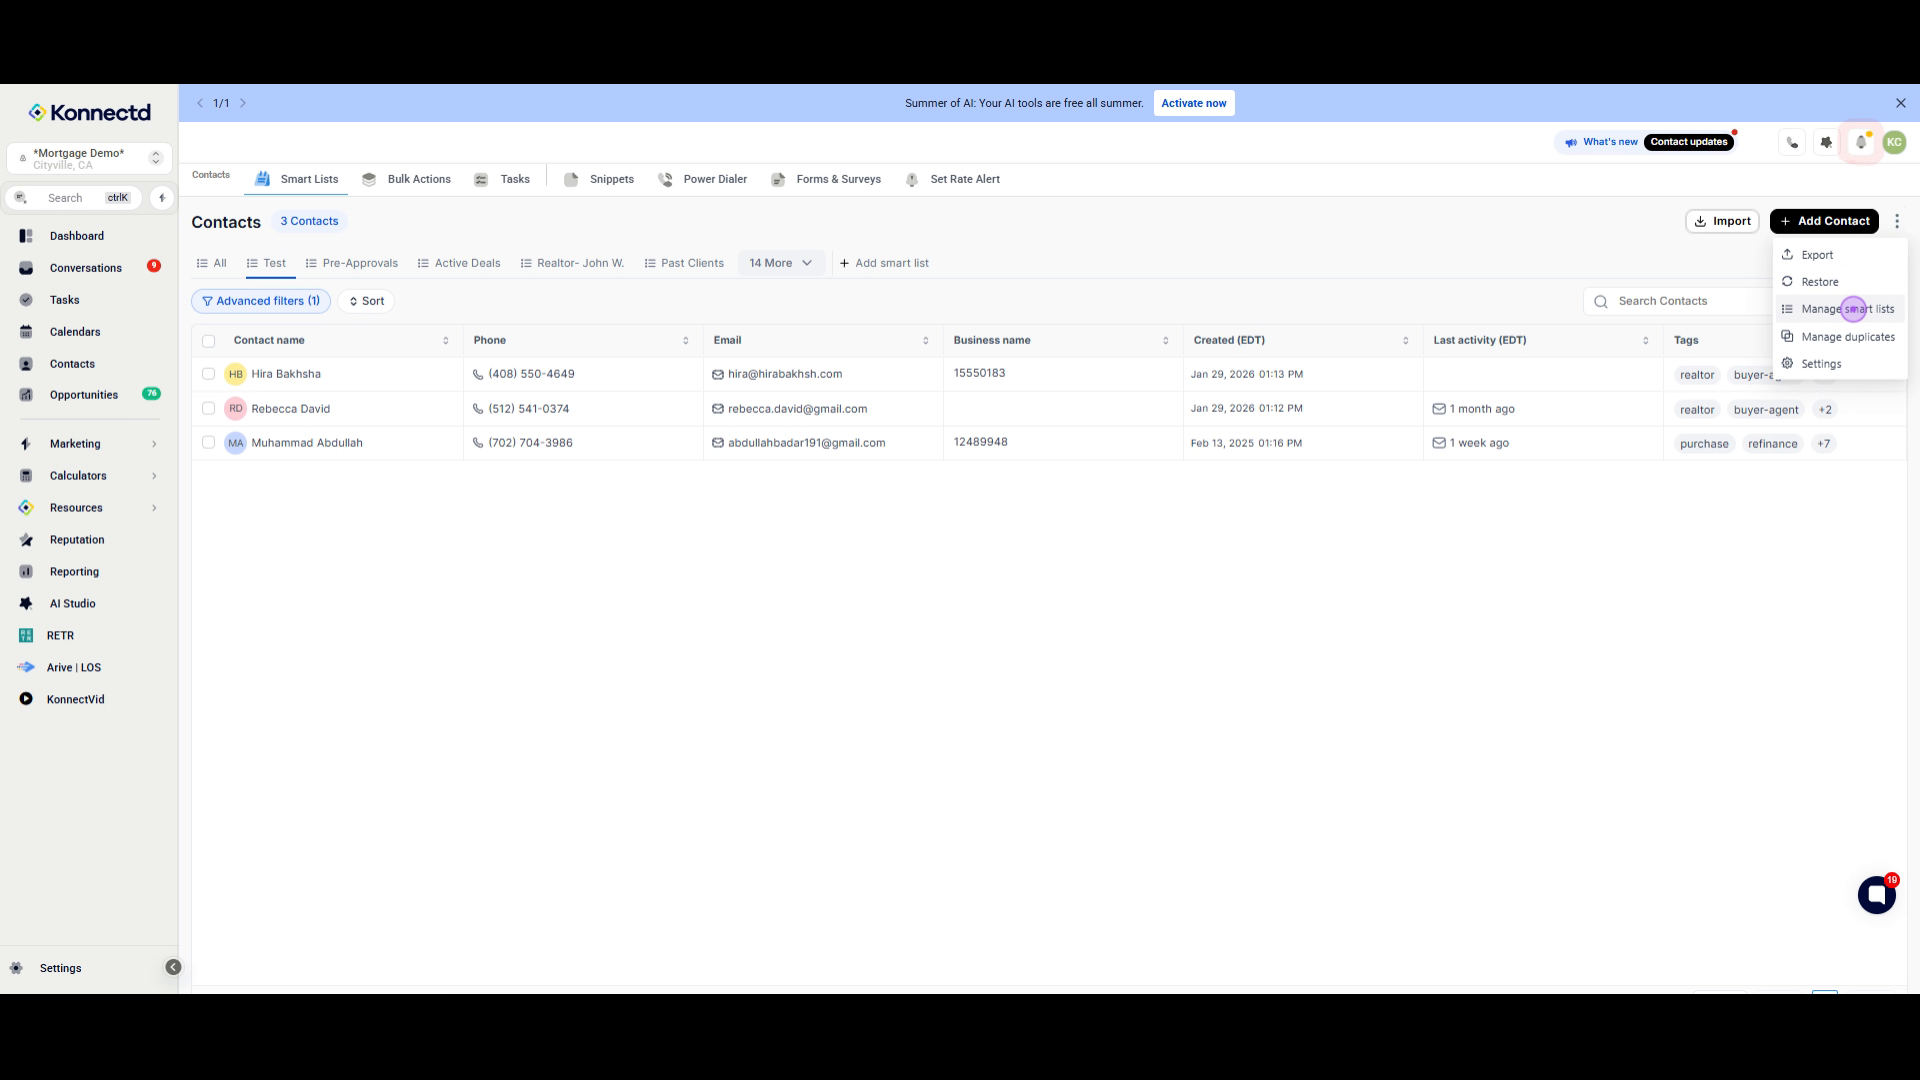
Open the settings menu and select Manage smart lists to view and organize all your Smart Lists.
Click the share icon next to your Smart List to configure sharing permissions with other users in your organization.