In the .csv file, have a column titled "Tags" and include as many tags as you'd like, with each separated by a comma. These tags will be created and applied to the associated contact records during import
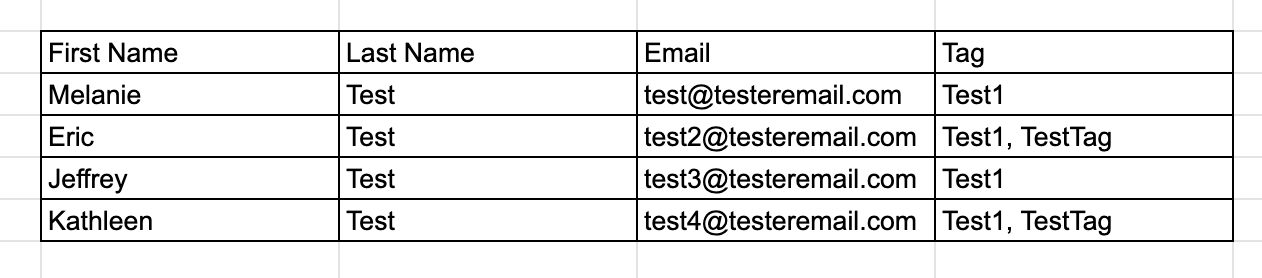
In this example, "Test1" would be applied to all 4 contacts during the import. The second tag, "TestTag", would be added to just 2 contacts.

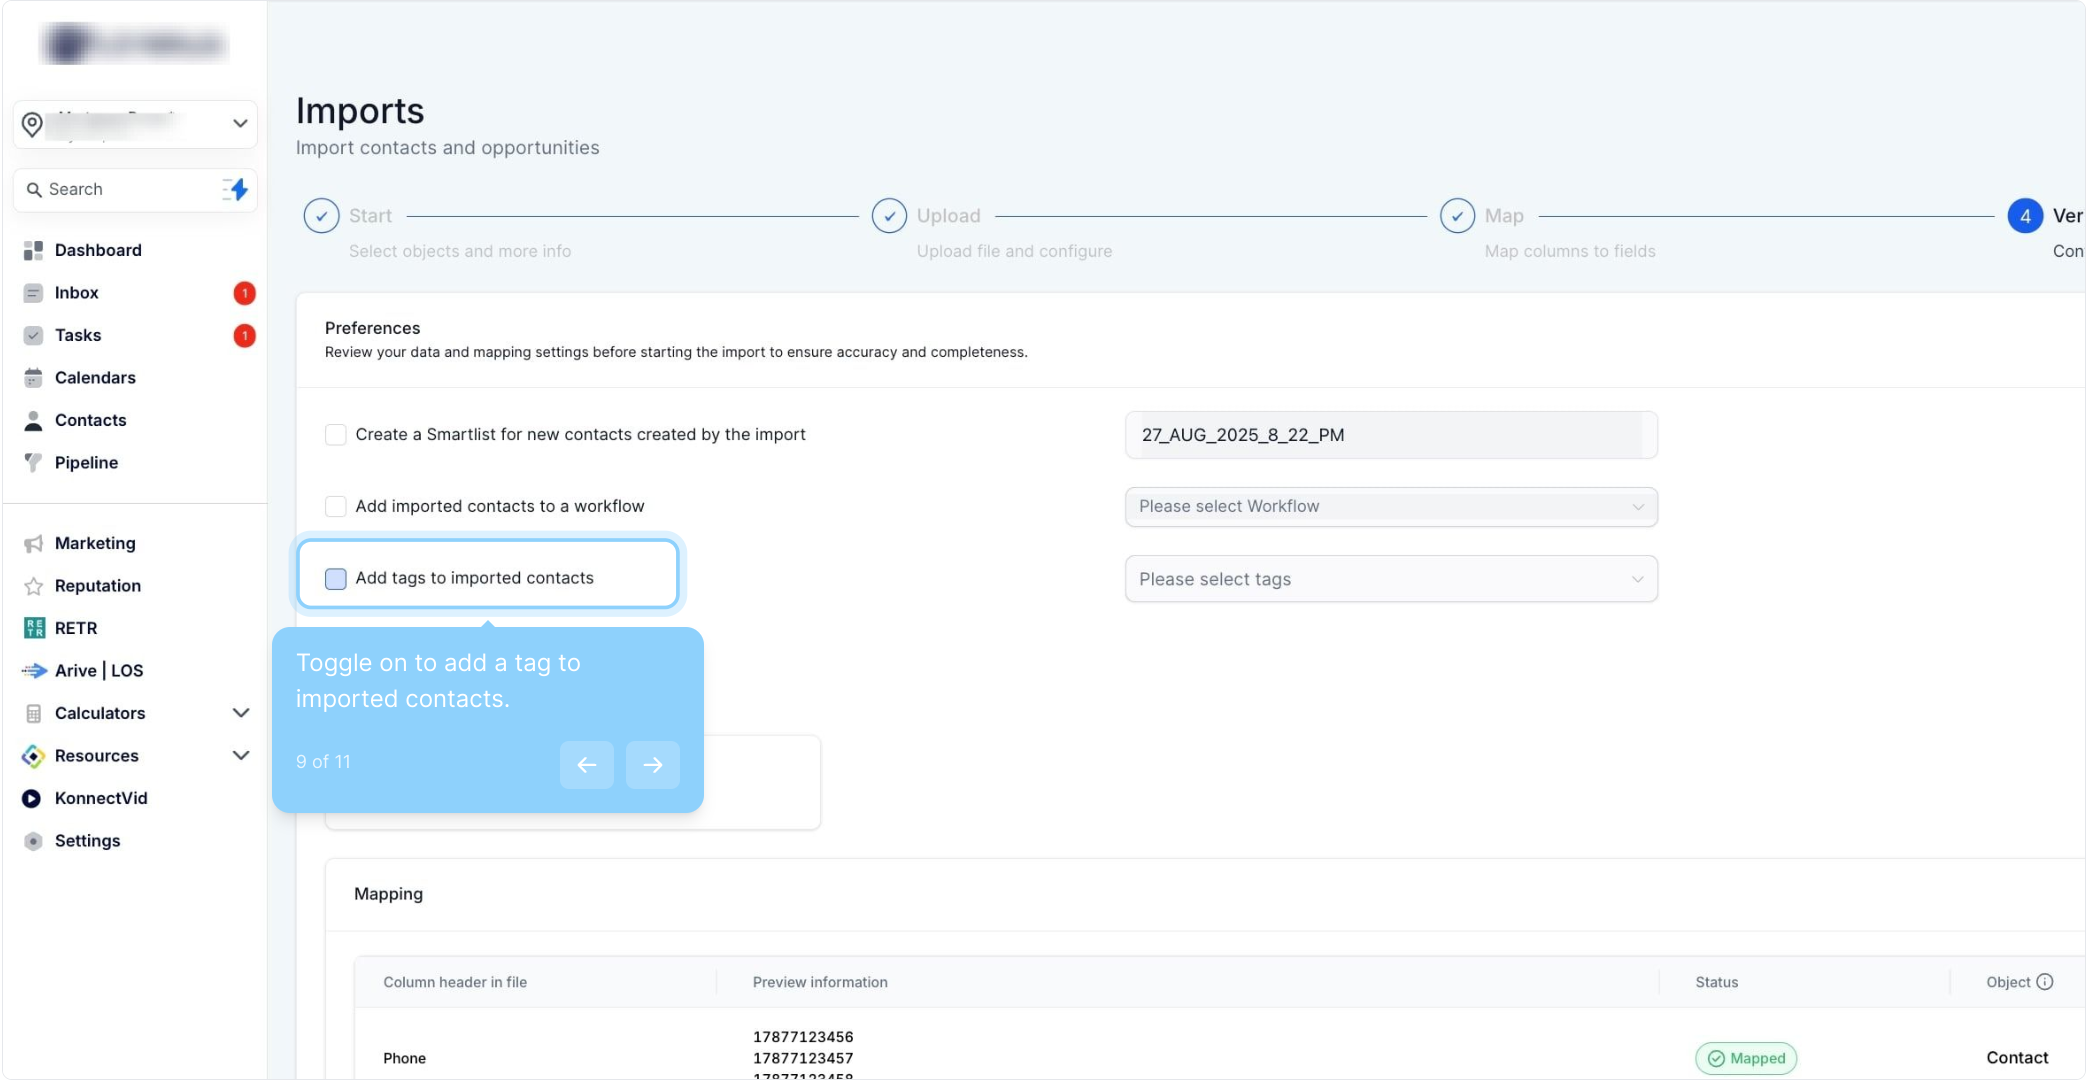
You may include one or multiple tags. You may use existing tags or create new ones right here in the import section.
Q: How do I format the "Tags" column in the .csv file?
A: In the "Tags" column, list all applicable tags for each contact, separated by commas. Each tag will be created and applied during the import.
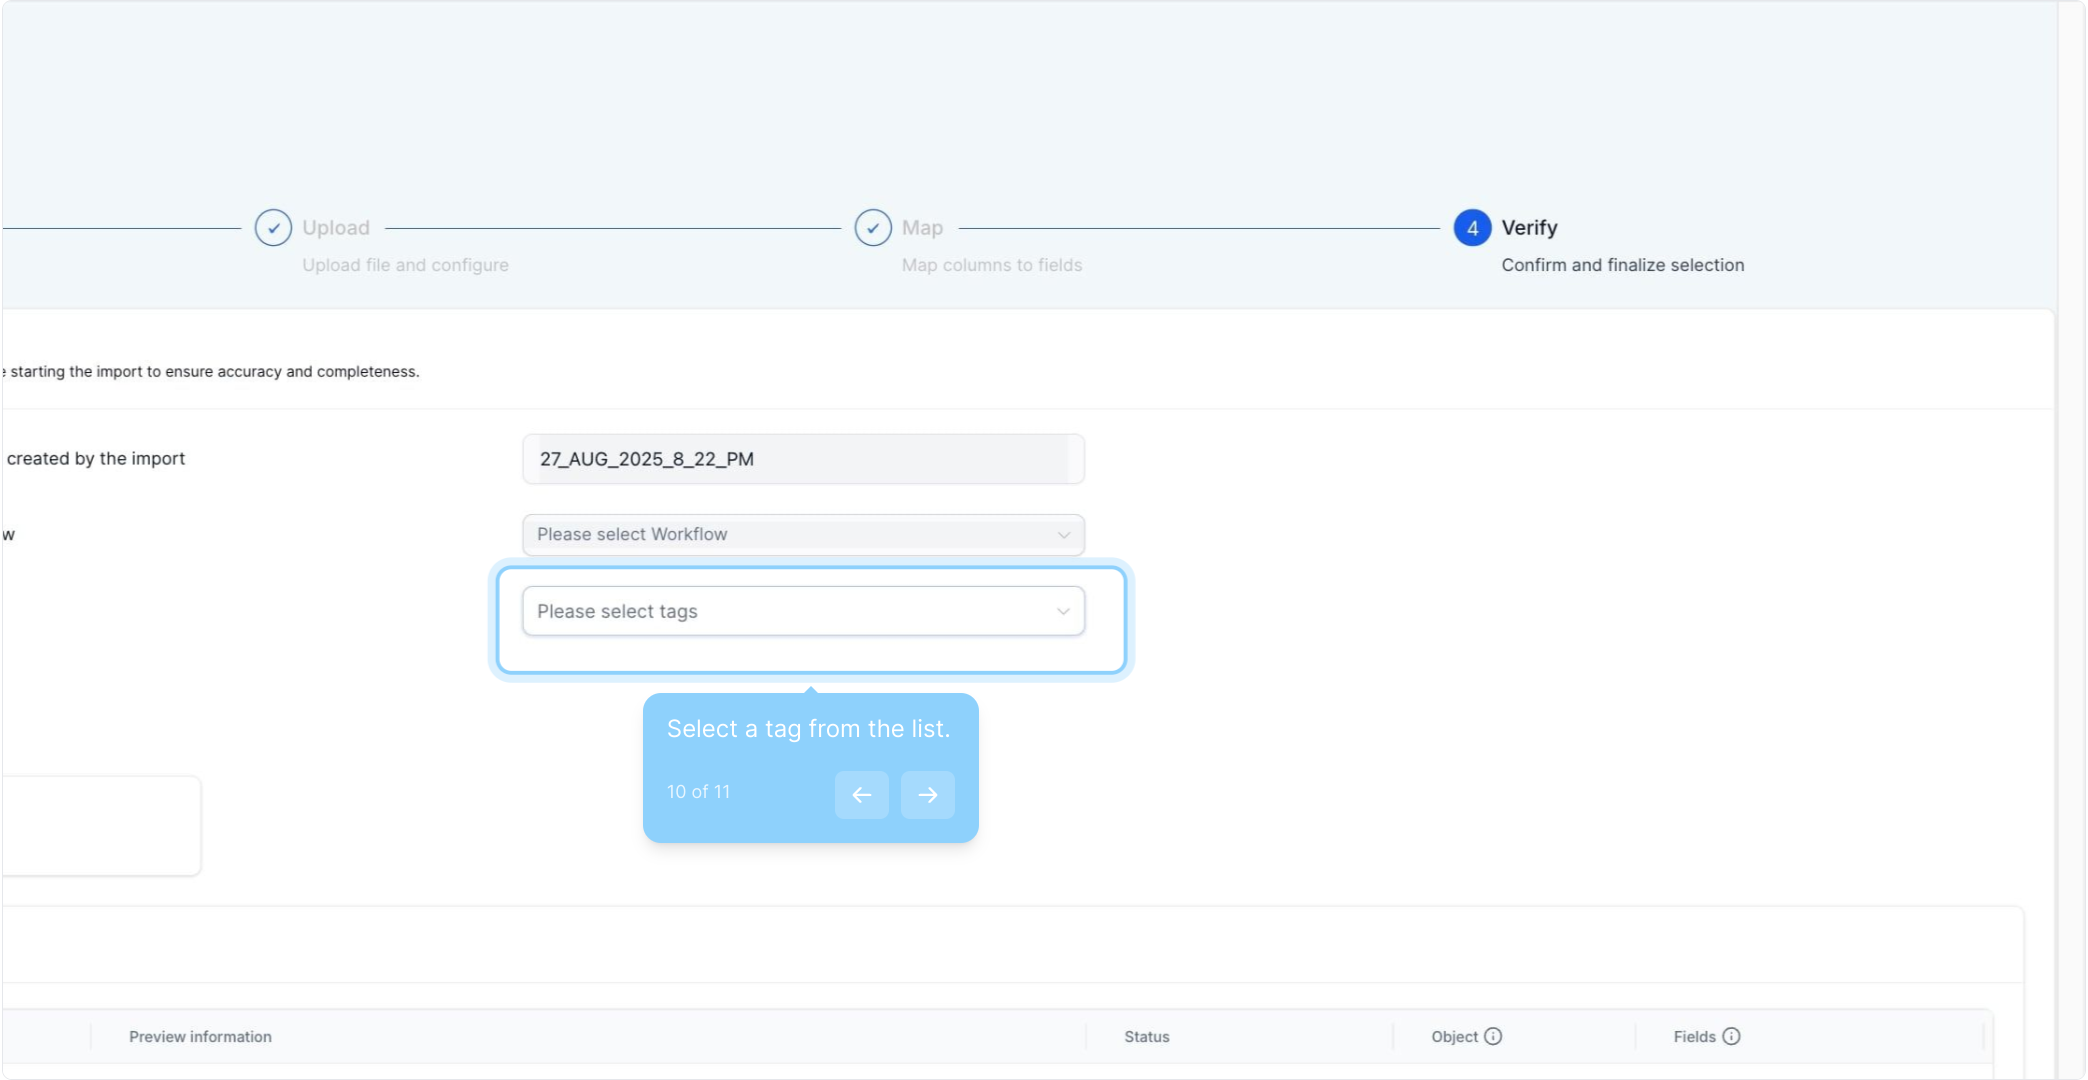
Q: Can I add multiple tags during the list import?
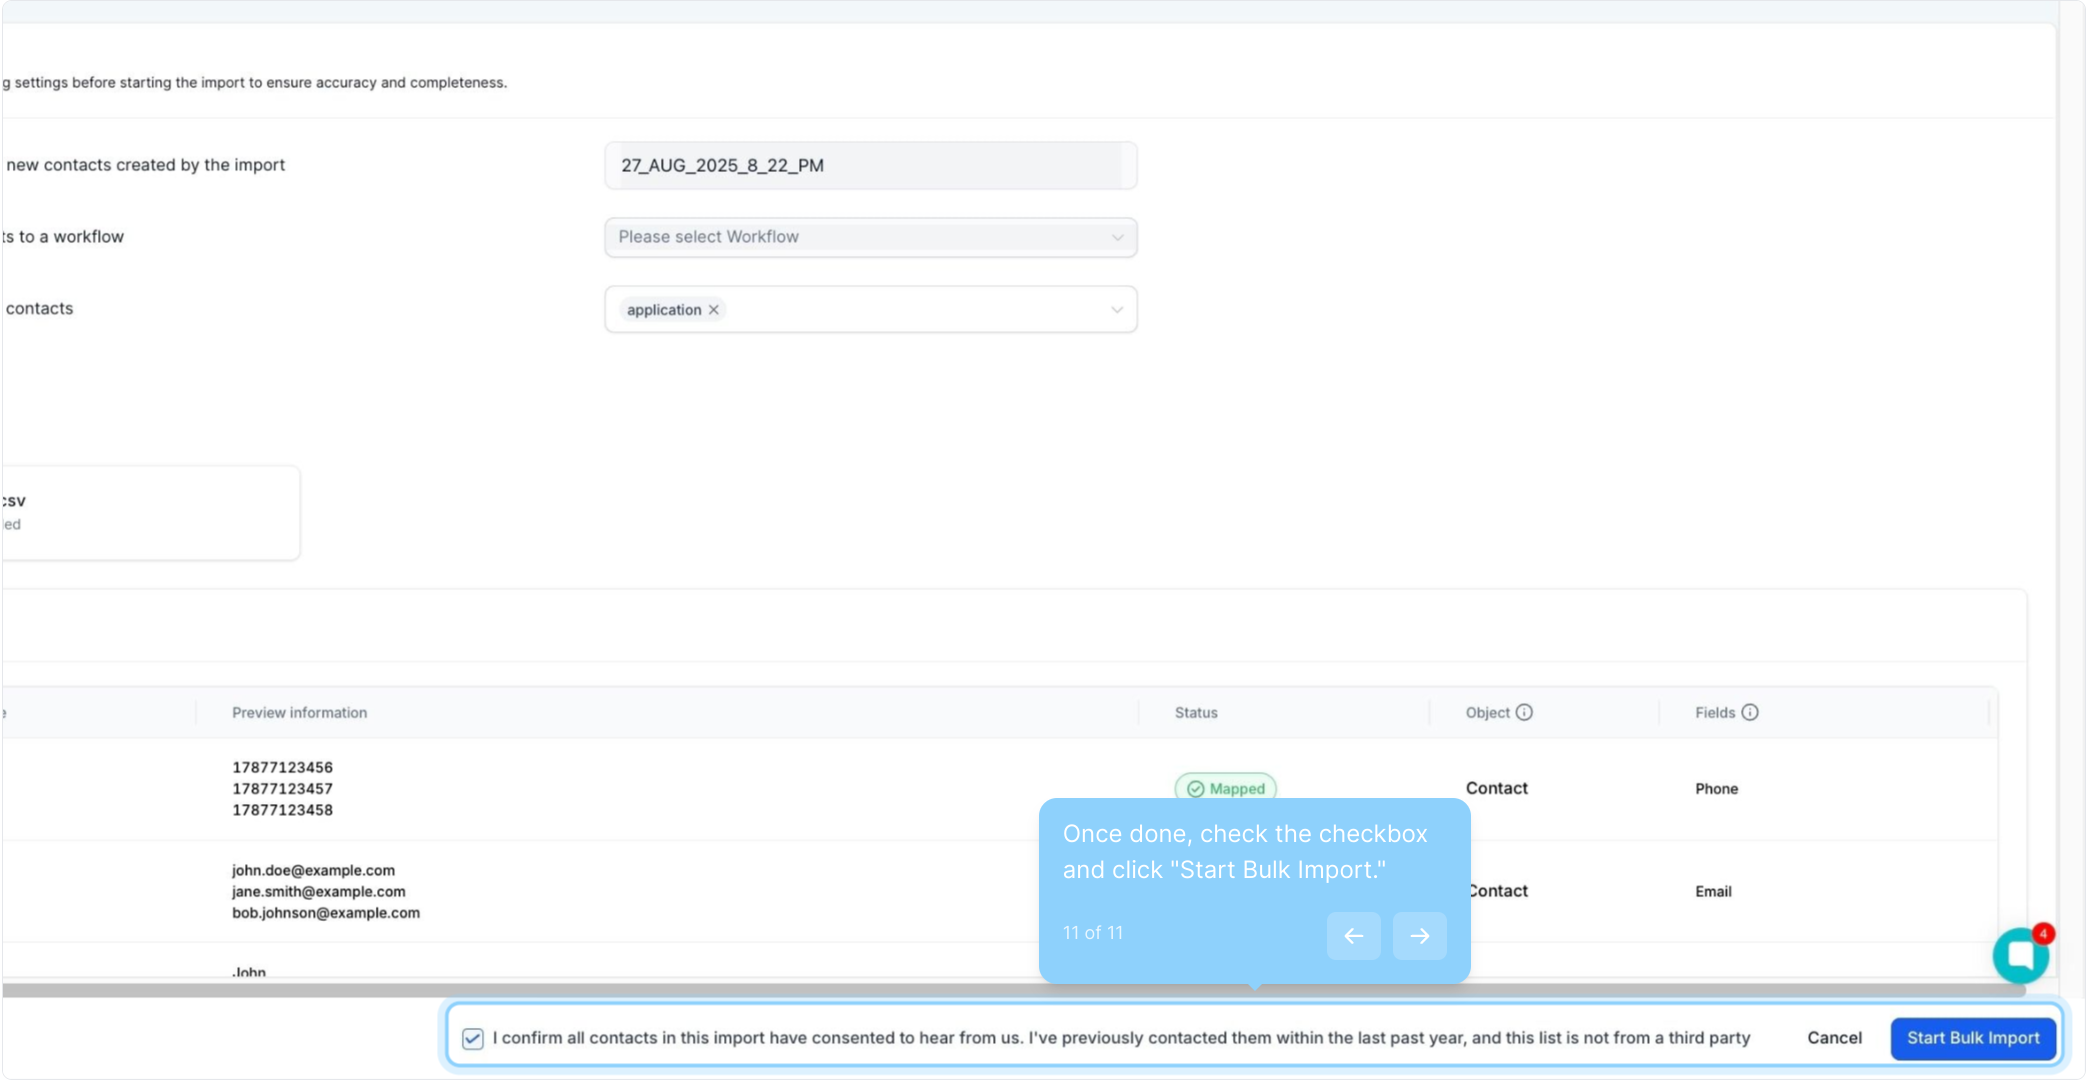
A: Yes, you can add multiple tags either by listing them in the "Tags" column of the .csv file (Option 1) or by entering them in Step 3 "Details" during the import process (Option 2).
Q: Can I use existing tags or create new ones during the import?
A: Both options are available. You can use existing tags or create new tags directly during the import process.
Q: What is the difference between the two options for adding tags?
A: Use Option 1 if different contacts need different tags (set in the .csv file). Use Option 2 if you want to apply the same tag(s) to the entire list during import.
