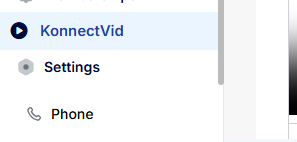
Click the Konnectvid on the left-hand menu
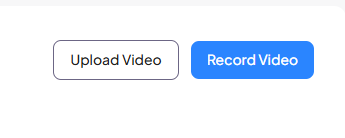
Click Start Recording on the right side of the dashboard
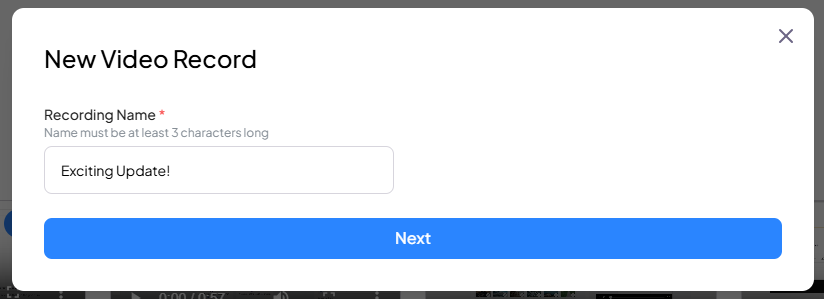
A pop-up will appear—add a title for your video
Wait a few seconds for the title to save
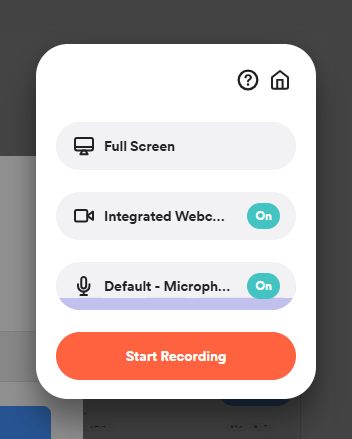
The video recorder will appear, with options to:
Use webcam
Share your screen
Or use both
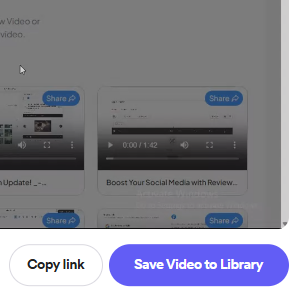
Once you're done recording, click “Save Video to Library”
Then, choose how to share it:
💬 Send via text or email
⚙ Copy the video link and paste directly to a workflow
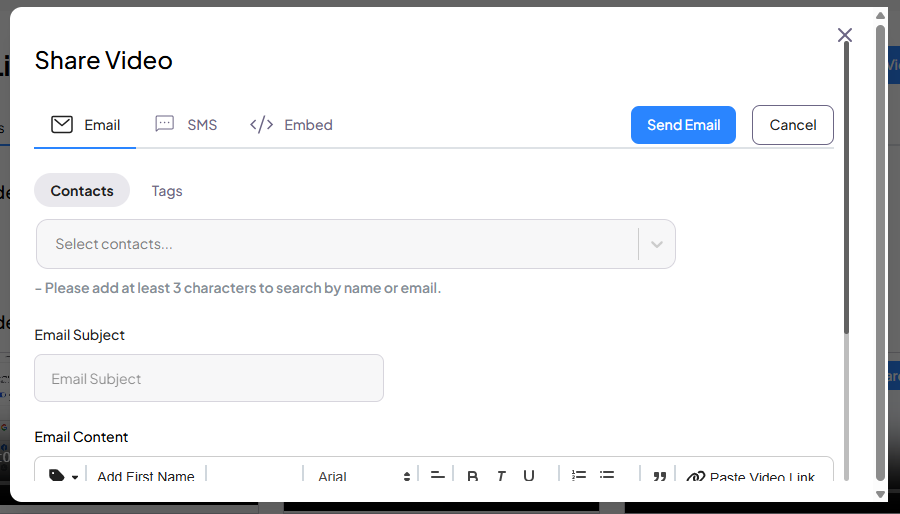
Once your video is saved, it's time to send it. Here's what each part of the sharing process looks like:
When you click “Share” on your saved video, the pop-up below appears.
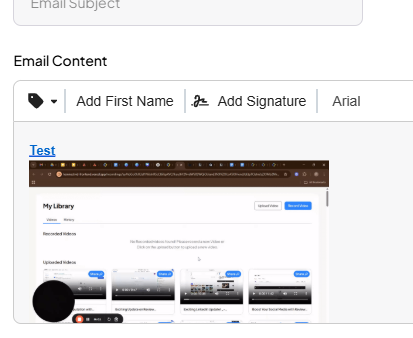
It’s where you’ll write your message, choose contacts, and preview how the video will look when delivered.
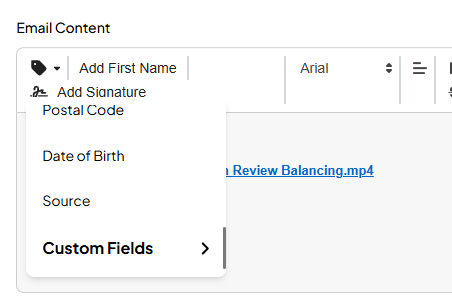
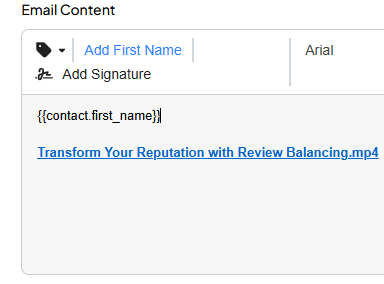
Make your message feel personal by using dynamic fields like the contact’s first name—or any other custom data stored in your system.
Just click the dropdown to insert any custom values directly into your message.
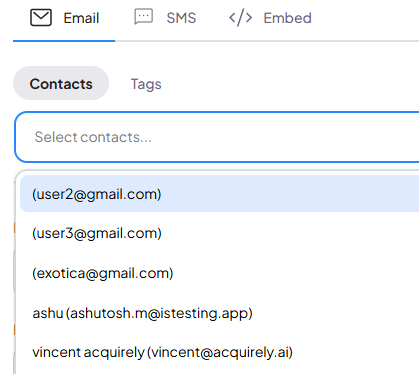
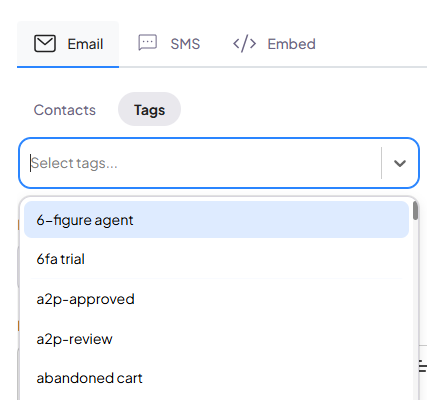
You can choose exactly who should receive your video—either by entering names manually or selecting from tags (like “past client” or “pre-approved”).
This gives you control to send the right message to the right person or group
Every video you send includes a GIF preview that appears right in the message to make it more engaging for your contacts to click and view your video.
📝 Note: Konnectvid works on desktop only.
